
Custom Table Planner Print Company Logo
Custom Print Table Planner Corporate Gift

Print a custom-printed table planner as a corporate gift is a thoughtful and practical idea. A table planner can be a useful tool for organizing events, conferences, or meetings. Here's a step-by-step guide to help you with the process:
1. Define Purpose and Design:
- Clearly define the purpose of the table planner. Decide on the design elements, including colors, fonts, and any specific branding elements that should be incorporated.
2. Choose Size and Format:
- Determine the size and format of the table planner. Consider whether it will be a single-sheet planner, a folded booklet, or a larger display. The size should be practical for your audience and the space available on tables.
3. Create or Finalize Design:
- Use graphic design software or hire a professional designer to create the layout. Ensure that the design is visually appealing and aligns with your corporate branding. Include the event name, date, and any other relevant details.
4. Incorporate Company Branding:
- Add your company logo, tagline, or any other branding elements to reinforce your corporate identity. Maintain a cohesive look that aligns with your overall brand.
5. Include Sections and Tables:
- Divide the table planner into sections or categories based on the event schedule or seating arrangements. Include tables with numbers or names for easy reference.
6. Use High-Quality Images and Graphics:
- If using images or graphics, ensure they are of high quality to enhance the overall professionalism of the table planner.
7. Proofread and Review:
- Thoroughly proofread all text on the table planner to avoid errors. Have multiple people review the design to catch any mistakes or inconsistencies.
8. UV Printing Method:
- UV printing method is best suits your design and budget and for unique effects.
9. Place Your Order:
- Place an order with a reliable printing company. Provide the necessary specifications and files for printing.
10. Receive and Distribute:
- Upon receiving the printed table planners, inspect them for quality and accuracy. Distribute the planners as corporate gifts during events, conferences, or meetings.
By taking these steps, you can create a custom-printed table planner that serves both a functional and promotional purpose for your corporate events.
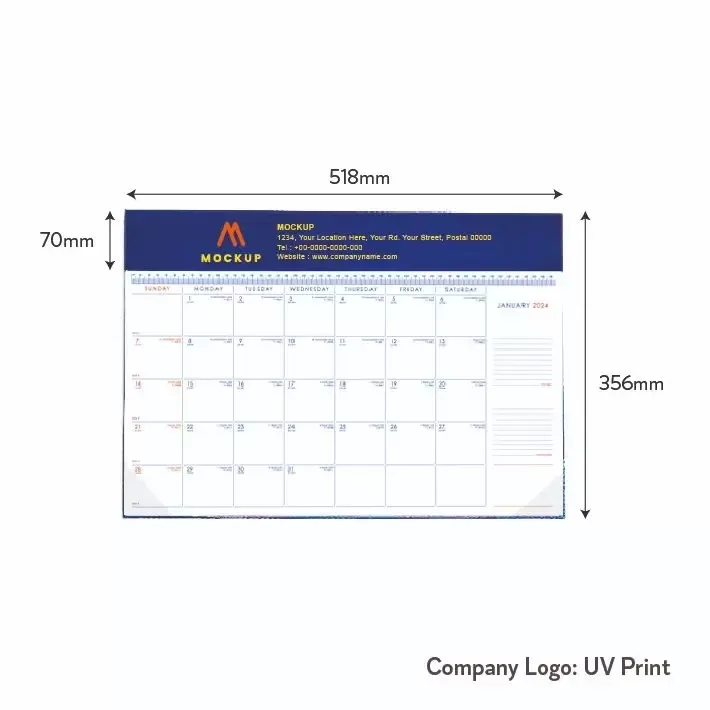
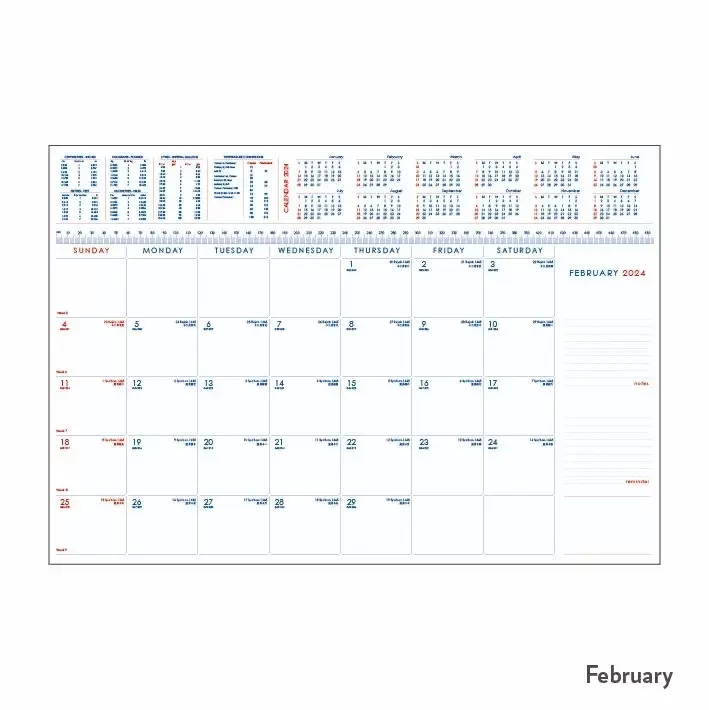
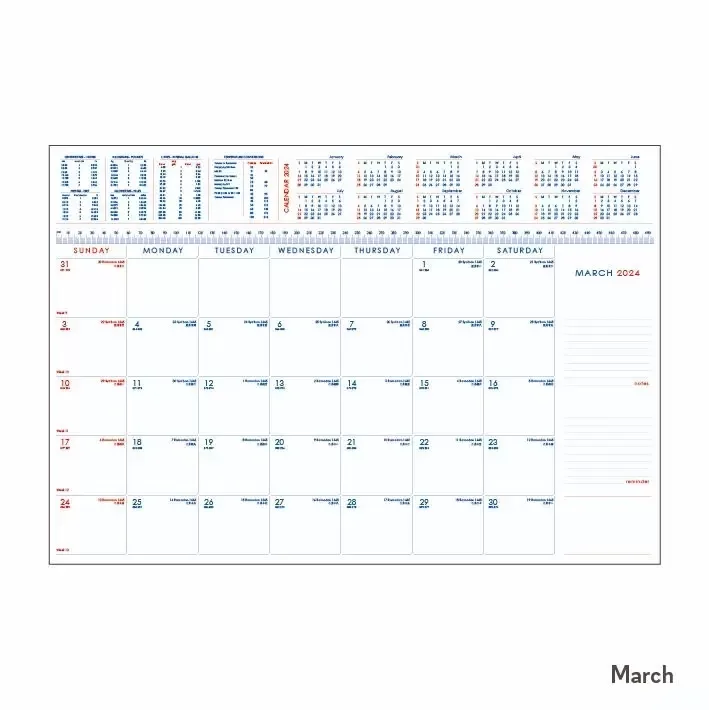
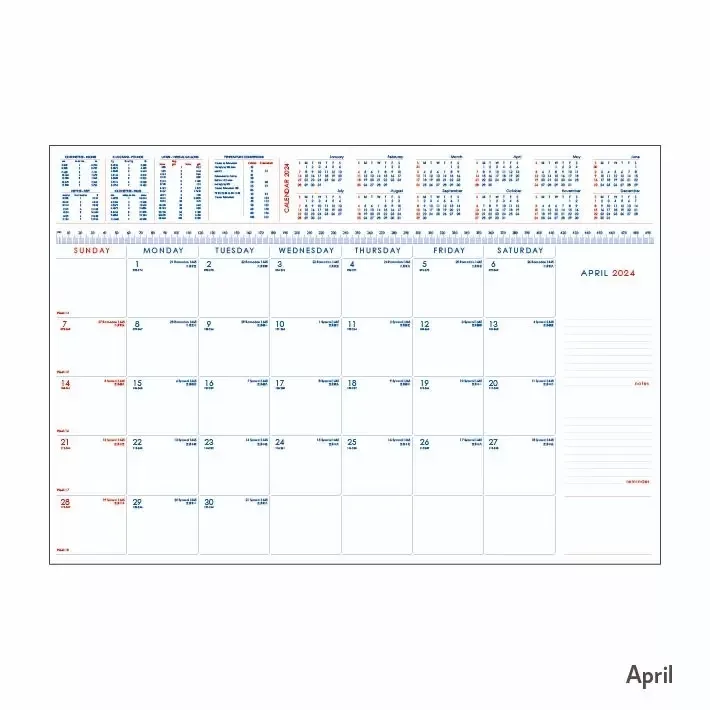
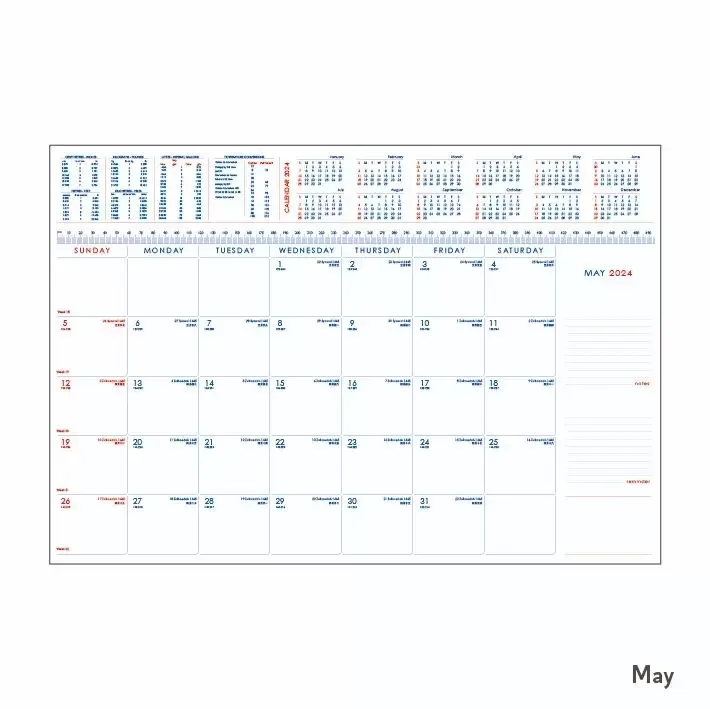
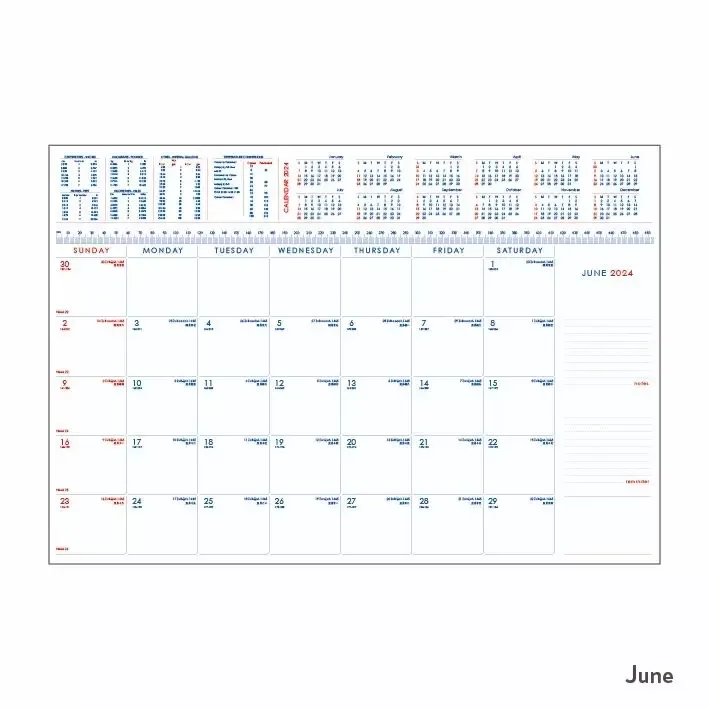
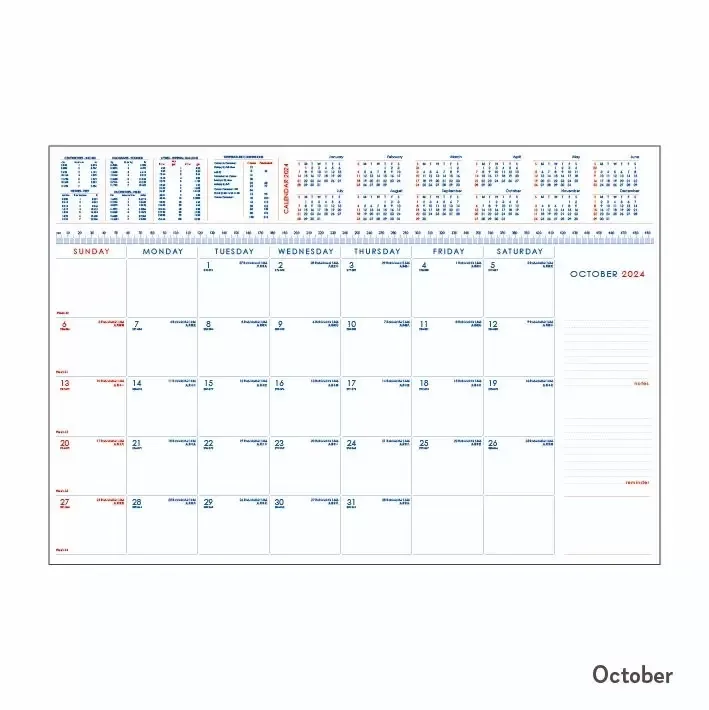
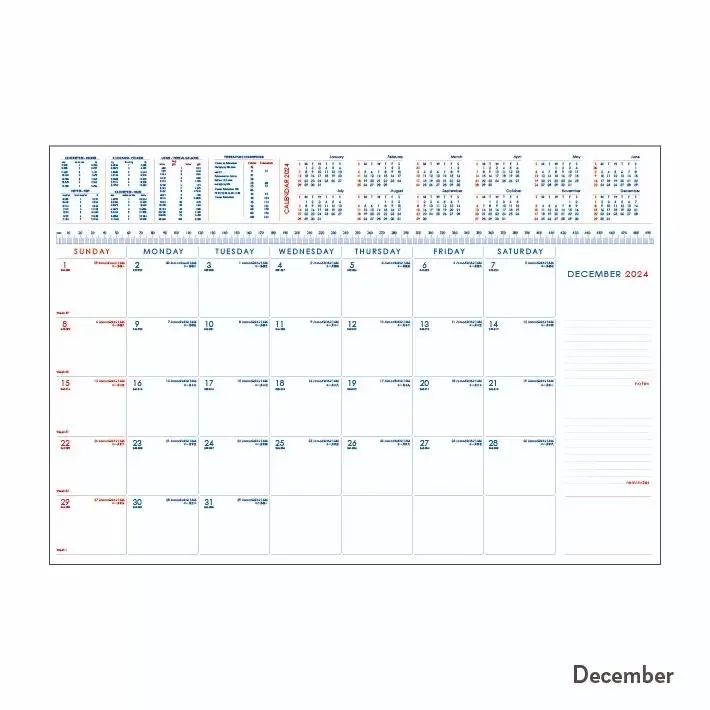
Table Calendar Specification:
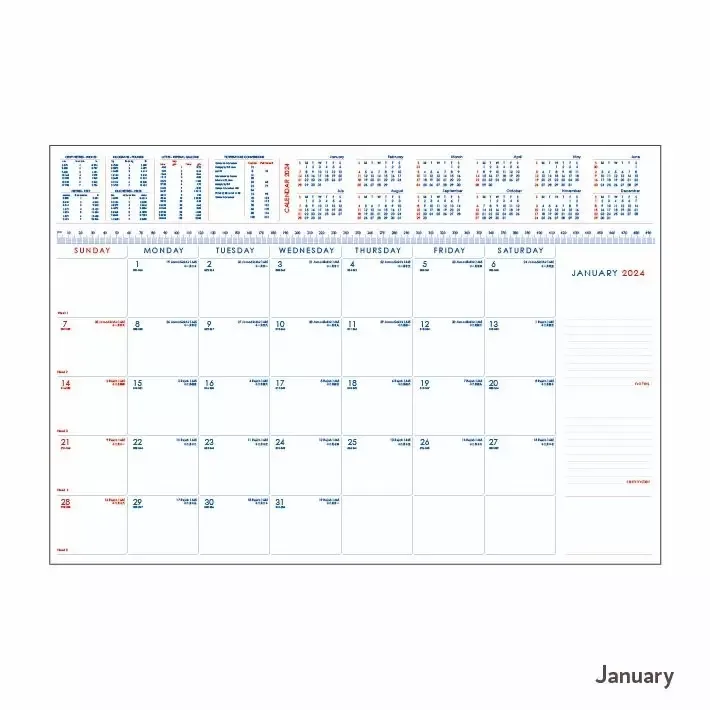
Content Text Area : 505mm x 346mm
Content Text Colour: Printed in 2 colors
Content Paper : 60gsm simili white
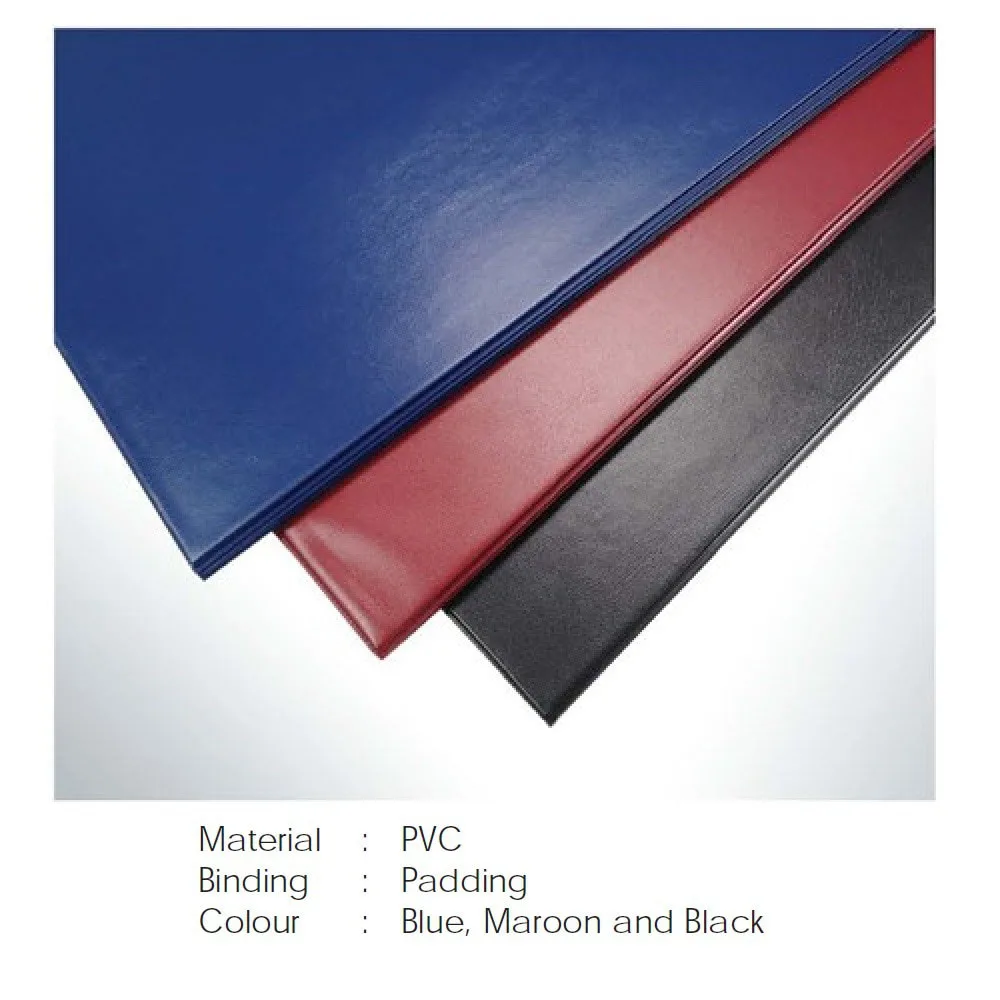
Cover Material : Standard PVC
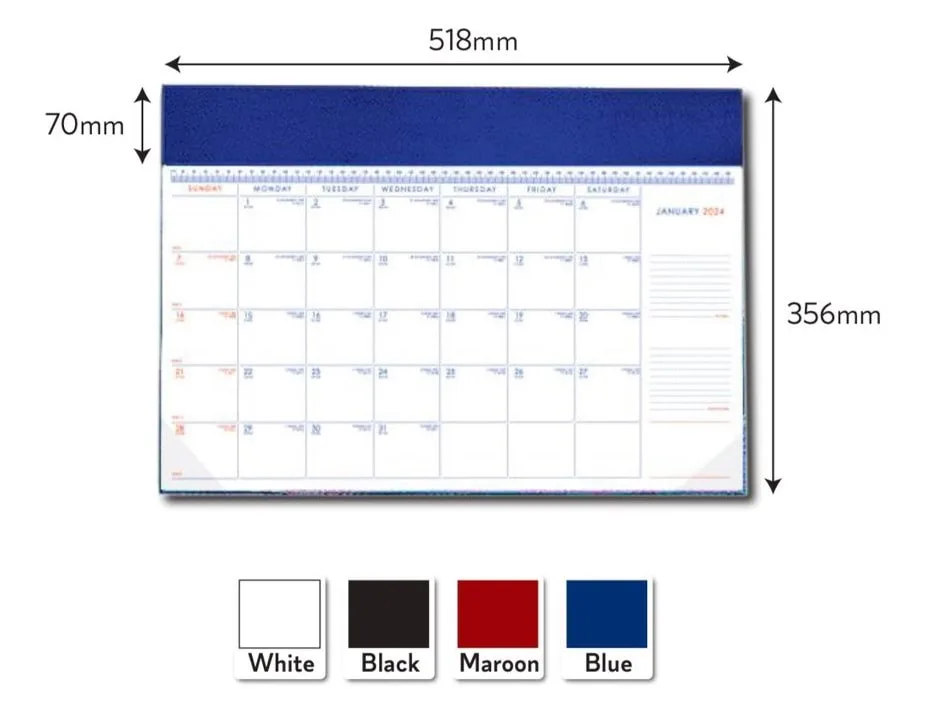
Cover PVC Color : Black, White, Maroon, Blue
Cover Colour Print By: UV Ink Direct Print
Cartons Size : 525mm (L) x 440mm (W) x 180mm (H)
Packing : 50books/carton (28kg)
Content Text Area : 505mm x 346mm
Content Text Colour: Printed in 2 colors
Content Paper : 60gsm simili white
Cover Material : Standard PVC
Cover PVC Color : Black, White, Maroon, Blue
Cover Colour Print By: UV Ink Direct Print
Cartons Size : 525mm (L) x 440mm (W) x 180mm (H)
Packing : 50books/carton (28kg)